Setting up a Raspberry Pi 4 to use as a desktop
This is part two of using the Raspberry Pi 4 as a desktop for one week. This article will be about setting the Raspberry Pi 4 up to be used as a home computer.
Part 1: Using the Raspberry Pi 4 as a Desktop Replacement for a week
Okay, day one has started and I invested some time in setting up the Raspberry Pi. I won’t go into detail how I setup the SD card etc. Feel free to read about it here. This includes the following services to be working:
- Email accounts in Claws
- Browser (integrated Chromium Browser)
- 1Password
- File Synchronisation with my personal cloud
- Gimp
- IDE
- Angular CLI
1. Email accounts in Claws
It doesn’t look as clean as Apple Mail but it gets its job done. Sadly I didn’t get icedove to work – I guess there is no package available for the current version of Raspbian Buster.
As soon as you setup your account Claws works very well. I had no issue setting it up and writing works just fine. But right now emails just show up as plain text which is probably better due to the performance of the Raspberry Pi 4. And it makes it more anonymous.
2. Browser
Raspbian integrated the Chromium Browser for a few versions now. It’s a fully fleshed Webbrowser and a good solution on the Raspberry Pi 4. It makes it feel more like a real computer.
I logged in as my Google User so I have my bookmarks and history synced across my devices.
3. 1Password
1Password is probably one of my most important tools and that’s where I hit my first wall: There is no installable package available right now for the Raspberry Pi 4. But I got lucky: 1Password X is a browser add-on for Chrome – which can be added to the Chromium Browser of the Pi. I just had to start my testing phase and upload the local password vault up to 1Passwords servers (it’s encrypted of course, read more about it here).
4. File synchronization with my personal cloud
Since the Synology Drive has no Client for the Raspberry Pi 4 I won’t get my data that way. For this one I used a trick. Here’s my situation: I have a Synology Server at my parent’s house in Germany which runs and stores my personal cloud. I live in Switzerland and have another Synology Server here as well. So I used CloudStation ShareSync to sync the cloud between my servers.
Now I can connect to every synced folder using NFS on the Raspberry Pi. And that’s it.
5. Gimp
sudo apt-get install gimp
That’s it. Let’s see how much I will like it – I am really used to Adobe Photoshop and Lightroom.
6. IDE
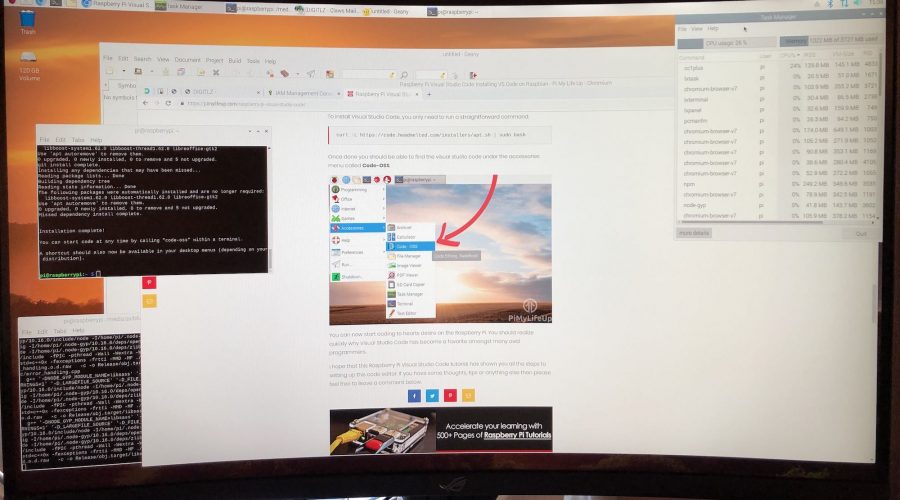
This became a real issue. I am very used to Visual Studio Code and I read that there are ways to install it on the Raspberry Pi. This guide to install the version of headmealted looked good and I tried to install it but upon starting it up all I got was a grey screen.
Next I tried to install Atom and found another guide. The issue here was that Electron with version 3+ doesn’t support the ARM-architecture anymore. I tried a few solutions I found on Google but I wasn’t successful.
At that point I just used the IDE that is already installed on the Raspberry Pi.
7. Angular CLI
This isn’t so difficult. I needed to install the latest version of Node.js by downloading and moving it to the folder. Here is a guide for that.
After installing Node.js and NPM I had to fix a NPM permission issue that I experience whenever I want to install something globally. Since I don’t want to run npm with sudo I need to install global packages to the current user I am logged in – pi in this case. This guide explains how you solve the permission error with npm.
Leave a Reply
You must be logged in to post a comment.